-
Hole #1
The Zoo
A tricky first hole with out of bounds along the right side and an approach shot that plays longer due to elevation and wind conditions.
Par Blue White Red Gold 4 386 373 312 309 -
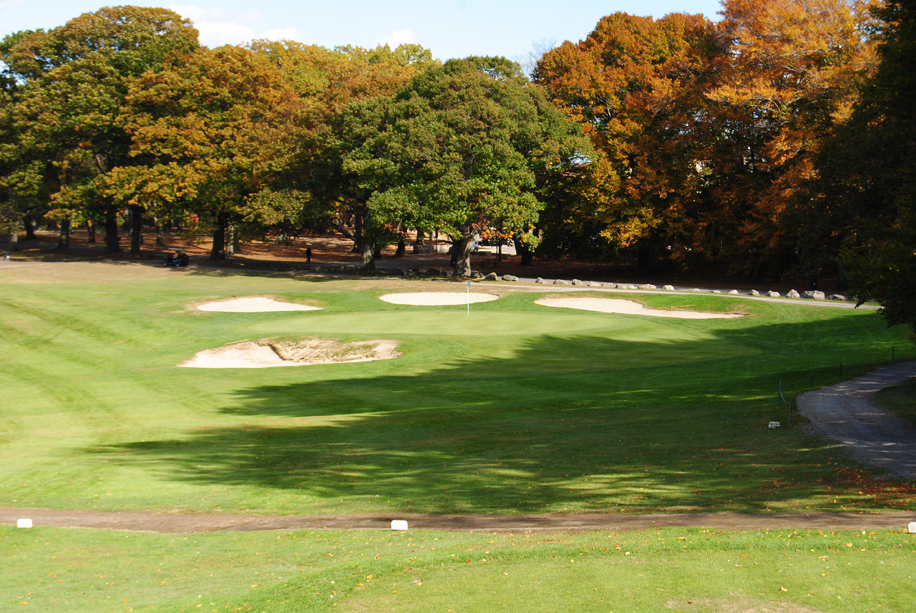
Hole #2
The Rock
The key to this hole is keeping your tee shot in play. The ideal tee shot is a 210 carry from the back tee leaving plenty of room to play around the tree protecting the green.
Par Blue White Red Gold 4 317 306 297 289 -
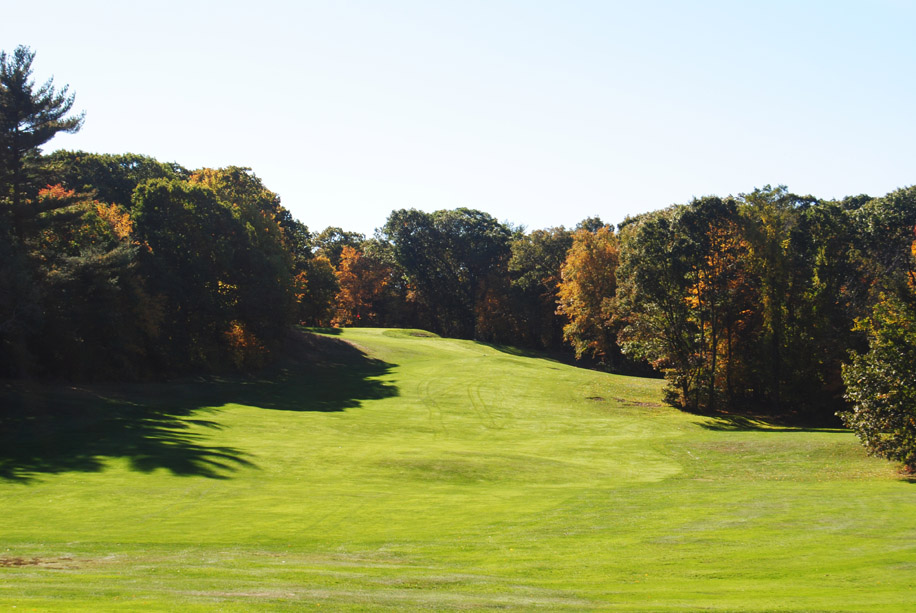
Hole #3
The Alley
Although you are teeing off from an elevated tee the wind is always a factor make sure you take plenty of club.
Par Blue White Red Gold 4 421 410 334 329 -
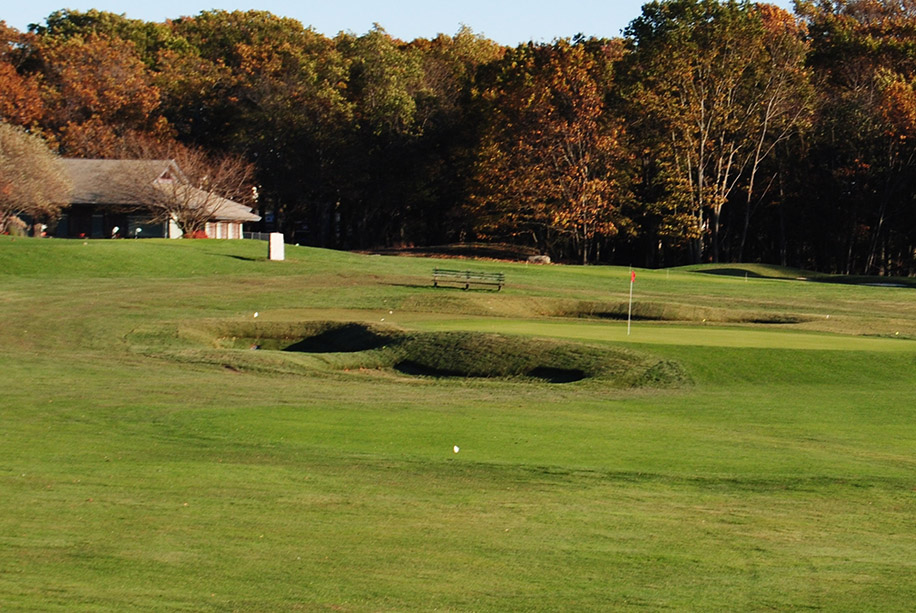
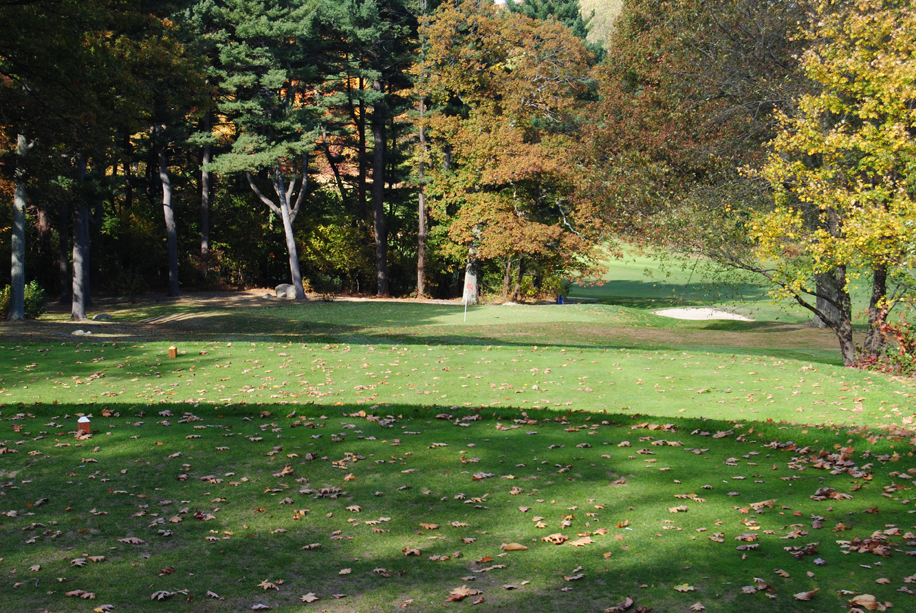
Hole #4
Wind Drifter
Although you are teeing off from an elevated tee the wind is always a factor make sure you take plenty of club.
Par Blue White Red Gold 3 189 178 166 162 -
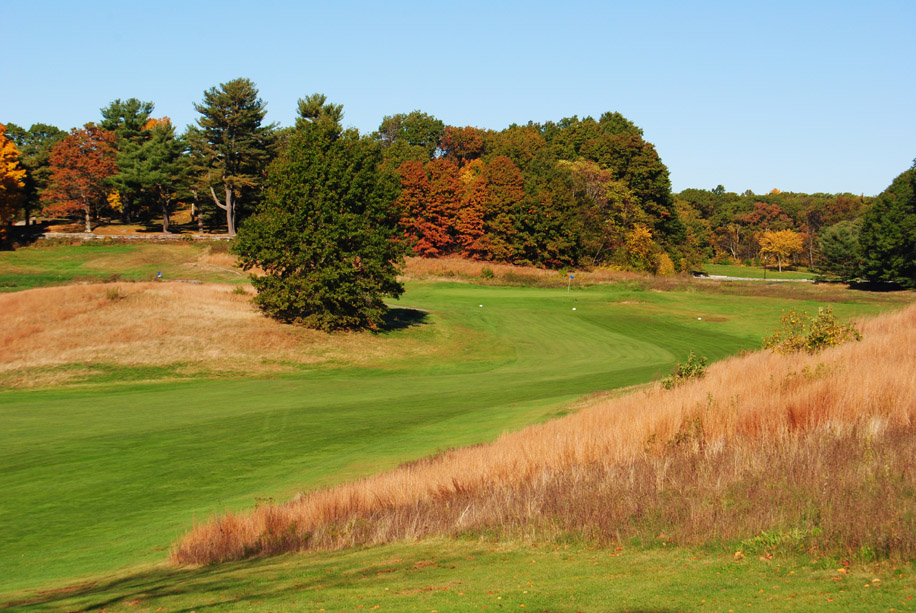
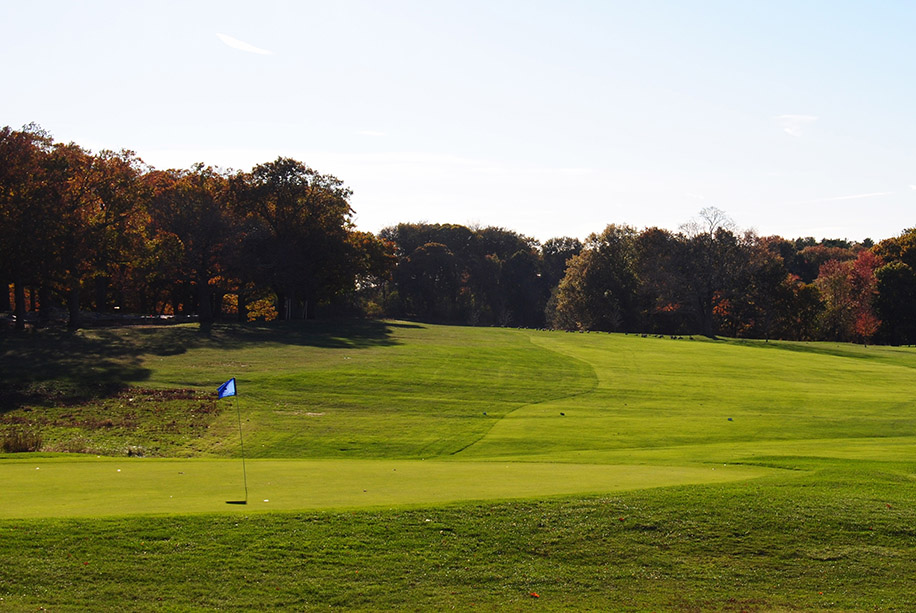
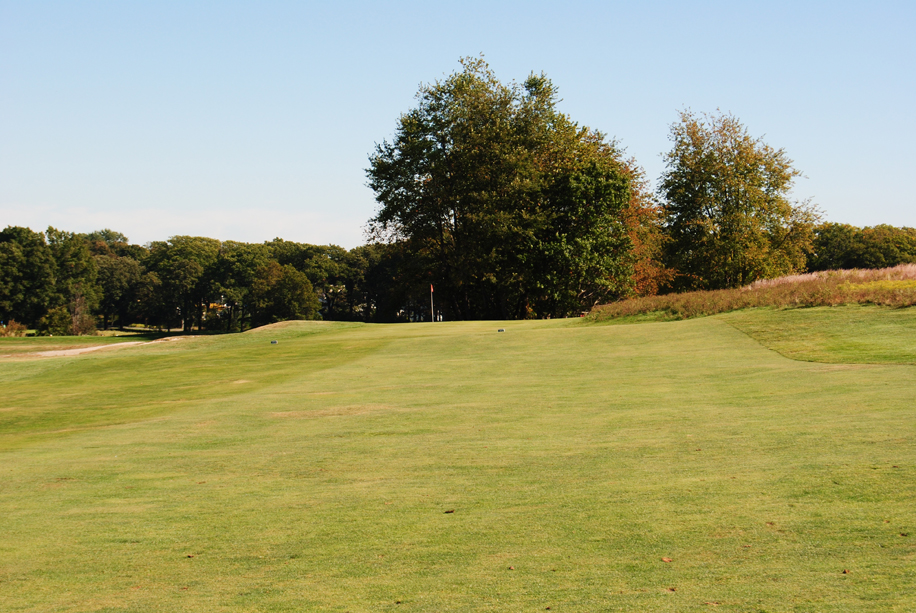
Hole #5
The Bell
A blind tee shot with fescue trouble on the right side and fescue trouble left of center. Your target line is just right of the tree that appears to be in the middle.
Par Blue White Red Gold 4 349 333 273 265 -
Hole #6
School Master
A relatively easy tee shot but don't be fooled this hole will give you fits if you are not careful. The green is large and slopes from right to left. Birdies are rare because you will not find a flat surface on this green.
Par Blue White Red Gold 4 380 339 334 329 -
Hole #7
Dog Leg
The toughest hole on the front side with water along the rights side. A good tee shot flirts with the tree line and the 8th green. The green is two tiered sloping from left to right and you never want to be above the pin or right of it.
Par Blue White Red Gold 4 389 373 300 292 -
Hole #8
Beech Tree
Pay attention to the tee to green alignment. Many golfers miss this green because they set up well left of their intended starting point.
Par Blue White Red Gold 3 178 160 118 116 -
Hole #9
The Valley
A blind tee shot with lost ball trouble along the entire right side. The green is flat and you can end your front nine on a positive note just be sure to miss your tee shot to the left.
Par Blue White Red Gold 4 340 334 327 319 -
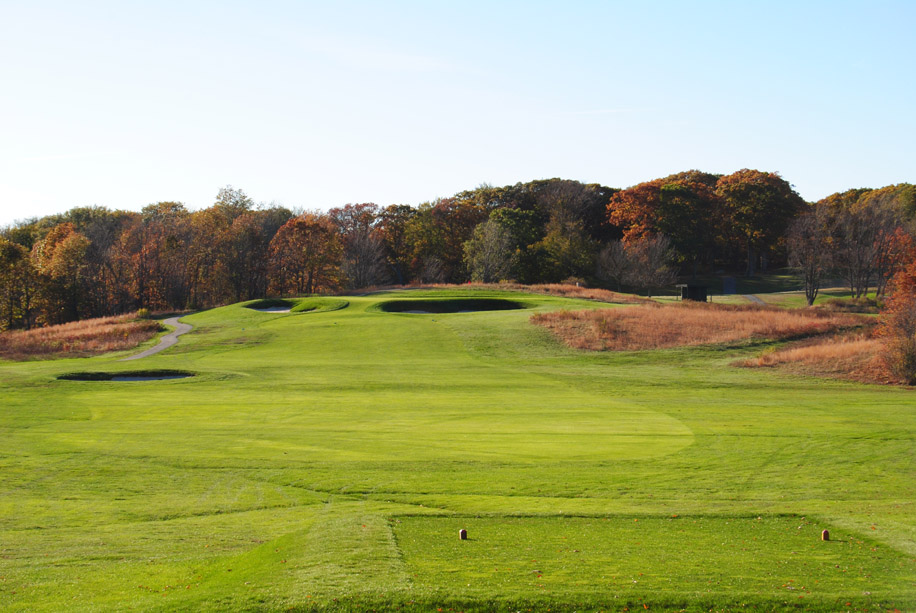
Hole #10
Uphill Climb
A tee shot that requires your attention anything right of the fairway has the potential of being a lost ball. The second shot is severely uphill with a punishing bunker. Be sure to hit enough club and don't forget to calculate the wind conditions.
Par Blue White Red Gold 4 337 293 290 283 -
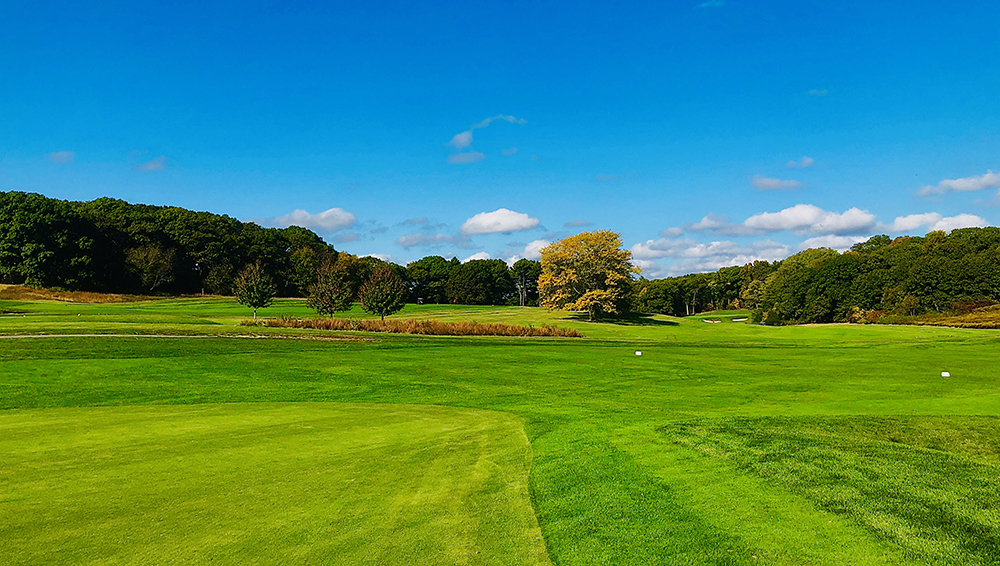
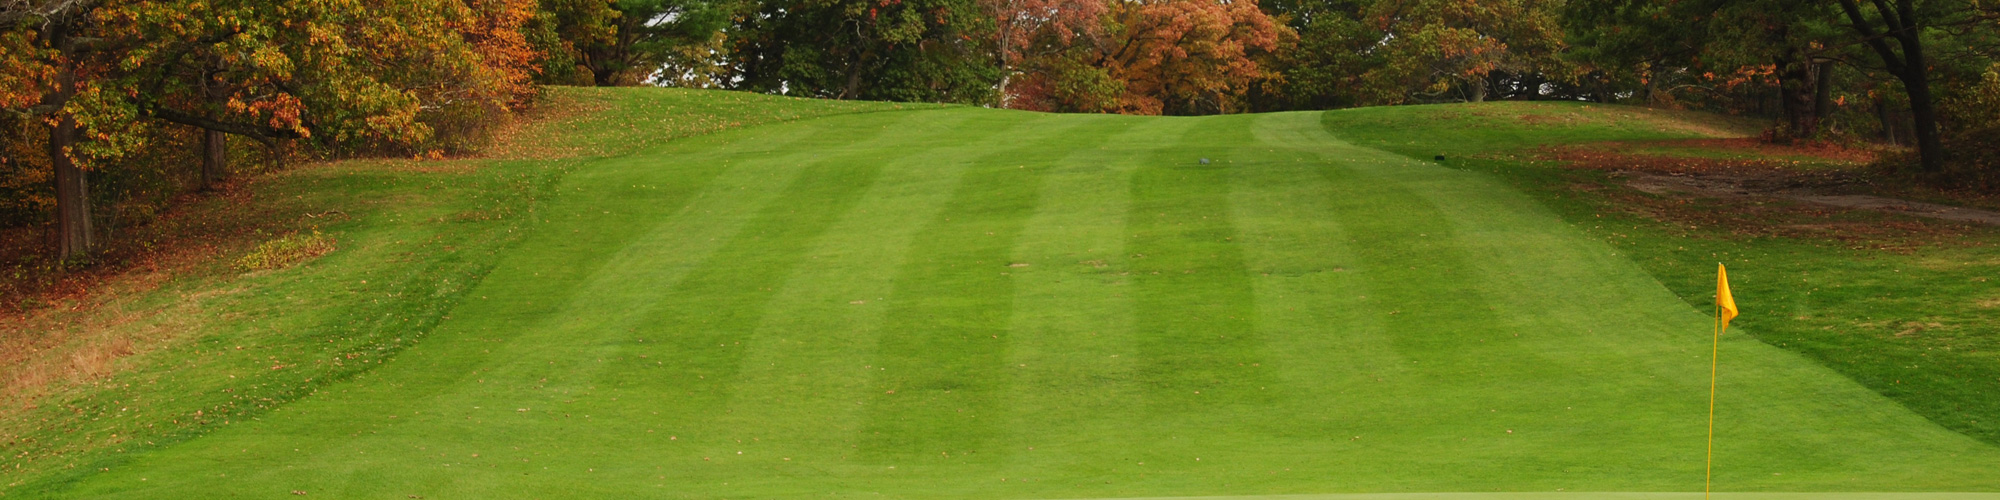
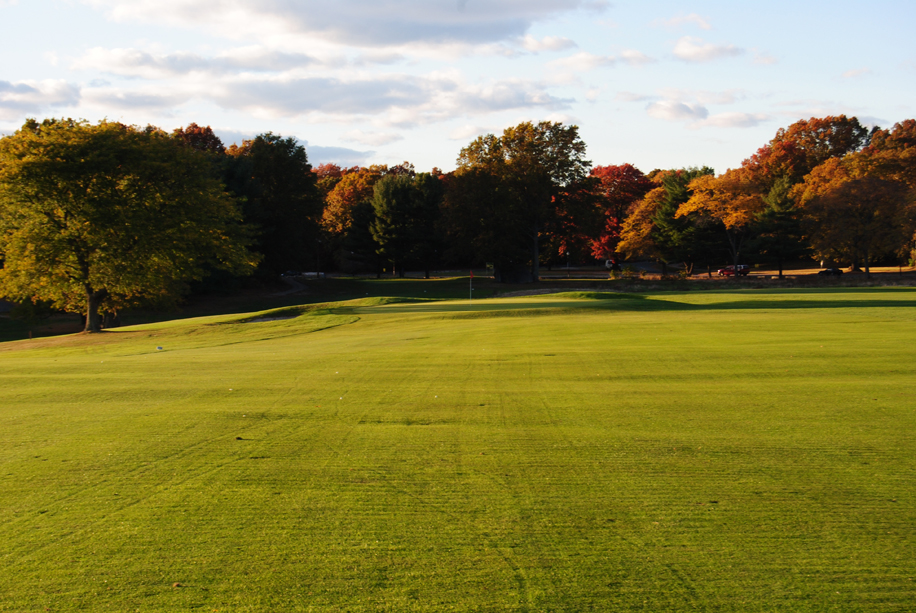
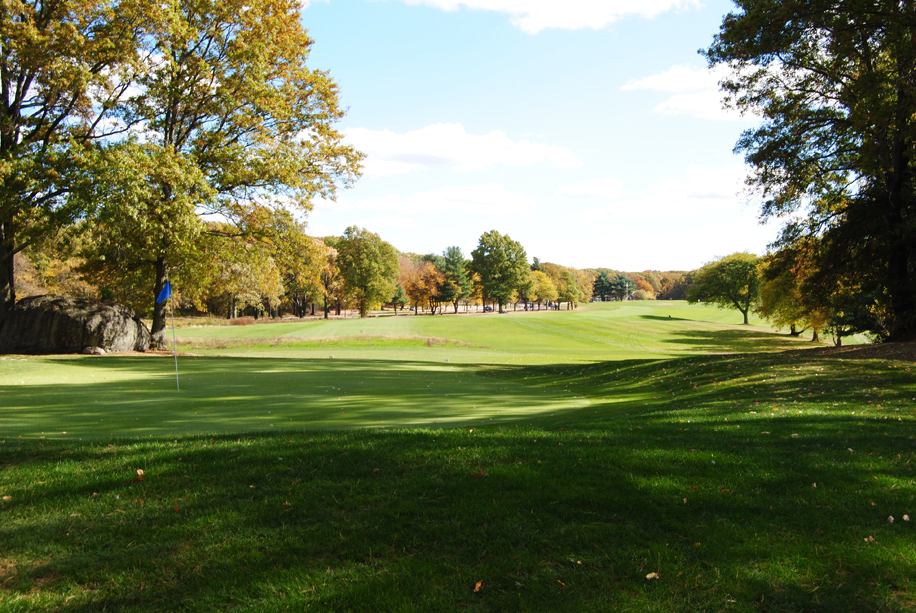
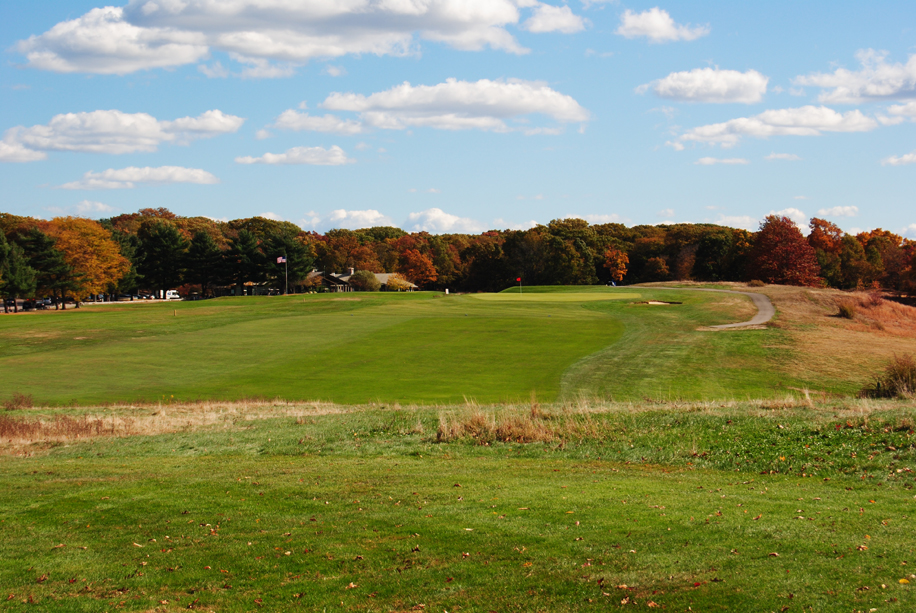
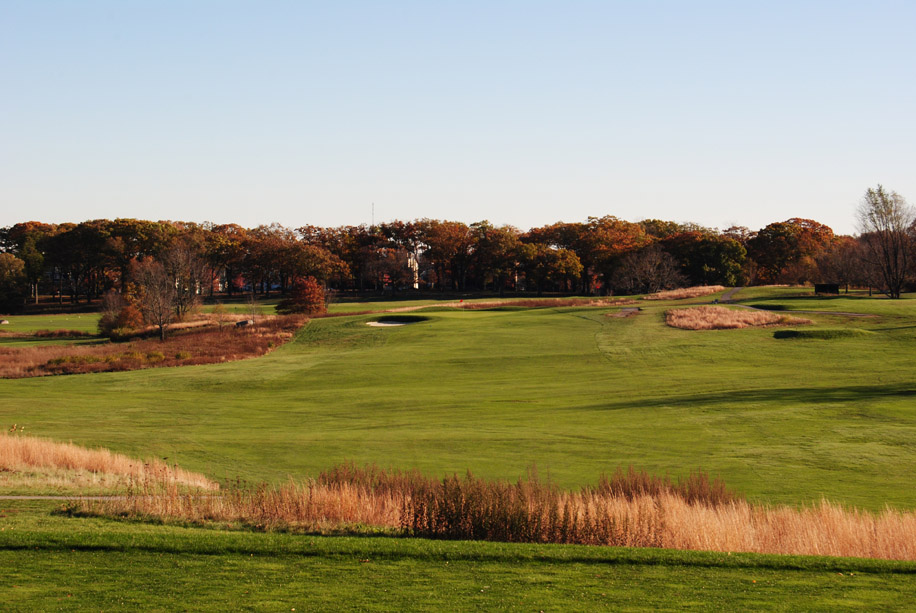
Hole #11
2 Putt
The William J. Devine Golf Course at Franklin Park has been updating and improving the golf course on an annual basis. The 11th hole is our latest masterpiece. The 11th hole is the longest hole you will play and measures 533 yards from the blue tees. If you are a long hitter the goal is to hit your tee shot down the left side so the ball can take advantage of a sloping downhill contour. Your second shot requires you to make a course management decision. A layup shot favoring the left side of the fairway is the safe play. If you are an aggressive golfer and you want to try and get home in two you will find an expanded green complex with plenty of open space behind the green. If you are an average golfer the smart tee shot play is to focus on the right side of the fairway. Avoiding the trees on the left side will save you lots of agony. Your second shot safe play is a shot that favors the left side. Anything to the right of the fairway is certain trouble and has the potential of lost golf ball. Your third shot plays to an elevated green so be sure to add a few yards into your approach. The green complex has been completely renovated and enlarged some forty percent. The green has some very interesting contours that will make putting challenging. To make your putting experience a breeze the pro tip is to divide the green into two sections. If the hole is located on the left side your approach shot would be best suited to be left of the hole. If the hole is cut on the the right side try and hit your approach to the right of the hole.
Par Blue White Red Gold 5 513 500 427 421 -
Hole #12
Bobby Jones
This is the most demanding tree-lined hole on the golf course. Accuracy off the tee is a start but your 2nd shot also requires your full attention. Any miss hit to the right on your second shot could become a lost ball. In other words you may want to consider a safety play for your second shot.
Par Blue White Red Gold 4 404 384 308 303 -
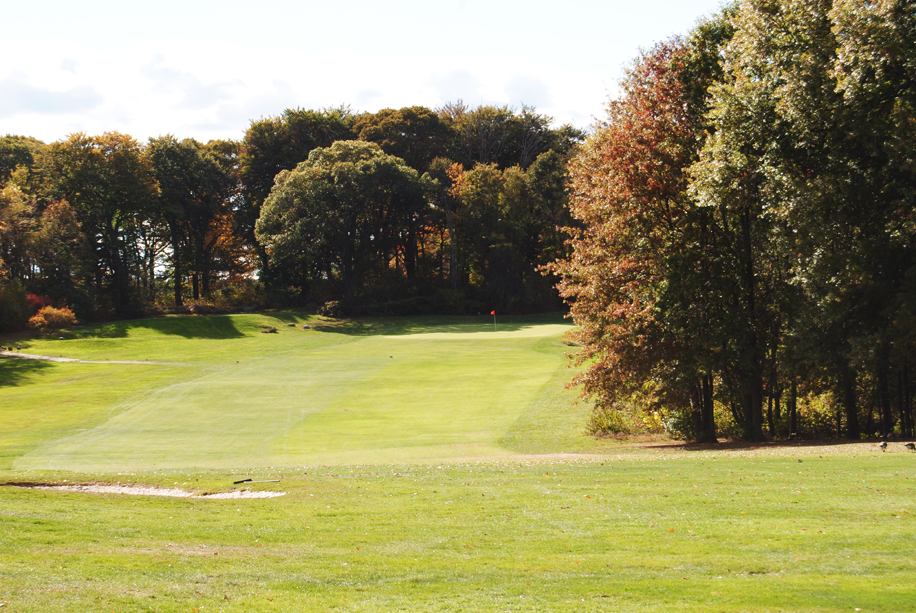
Hole #13
Chip Shot
This hole gives up more birdies than any other hole but don't let the yardage fool you. The pin placements can give you fits. If the pin is on the far right corner you can putt your ball off the green.
Par Blue White Red Gold 3 139 119 103 100 -
Hole #14
The Mounds
A blind tee shot with your approach to the green much easier from the left side. This green slopes to the left and falls off very quickly. Your shot should be to the right of the flag.
Par Blue White Red Gold 4 358 341 258 254 -
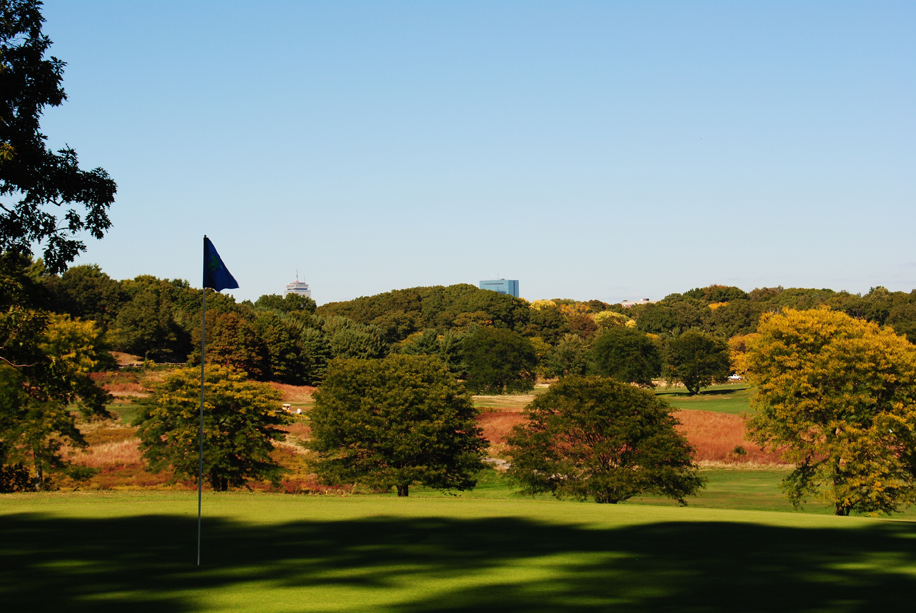
Hole #15
The Prudential
A surprisingly large elevated green with a tree guarding the left side. Be sure to hit it low as the wind is always a factor.
Par Blue White Red Gold 3 164 159 152 147 -
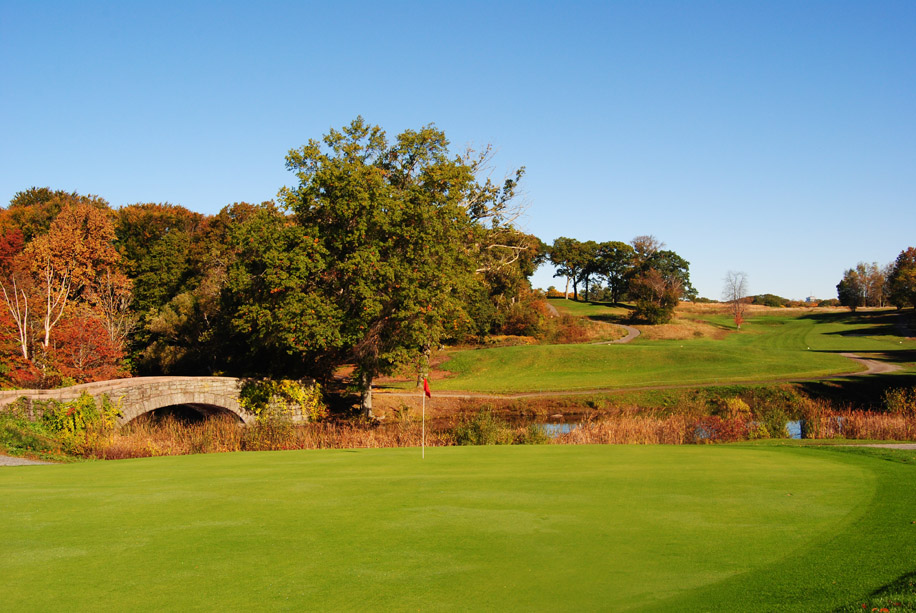
Hole #16
The Bridge
Completely redesigned with a wider playing zone. A 220 yard shot will get you to the crest of the fairway. The green is a severely sloped two tiered green and going above the pin is often a very costly mistake.
Par Blue White Red Gold 4 337 330 315 313 -
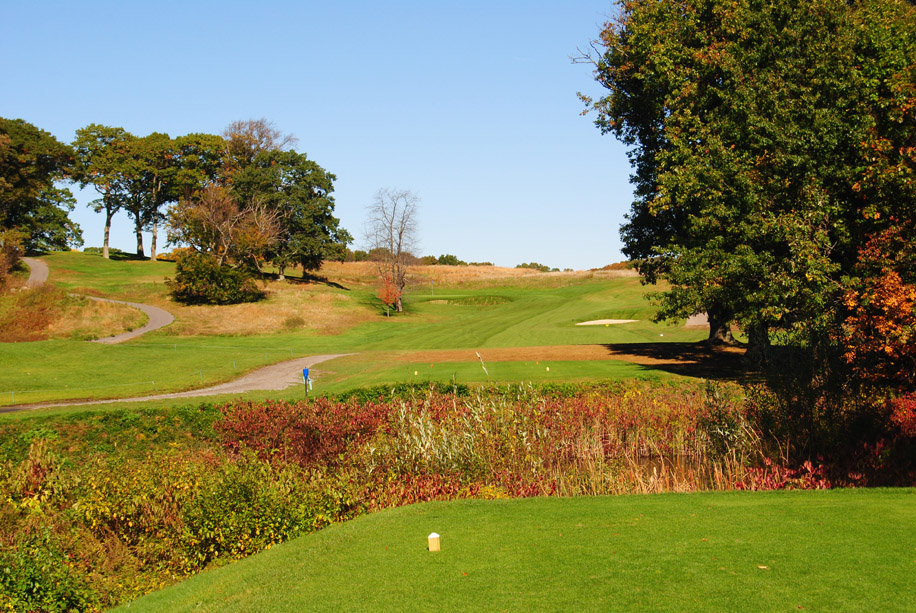
Hole #17
Heading Home
The goal on this hole is to keep your tee shot in play. The smart play is a 200 yard tee shot. If you are a strong hitter try you can try and drive the green but be careful the fescue on the left side and the trees on the right side can ruin your back nine.
Par Blue White Red Gold 4 287 268 268 210 -
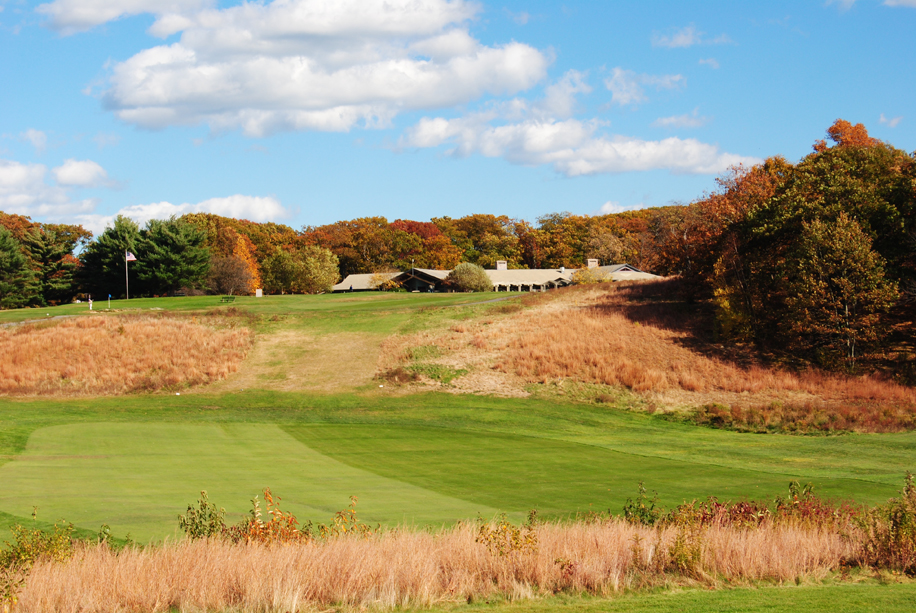
Hole #18
Heartbreak Hill
Our finishing hole requires a tee shot along the left side in fact the entire right side of this hole is a lost ball just waiting to be lost.
Par Blue White Red Gold 5 473 449 449 361