-
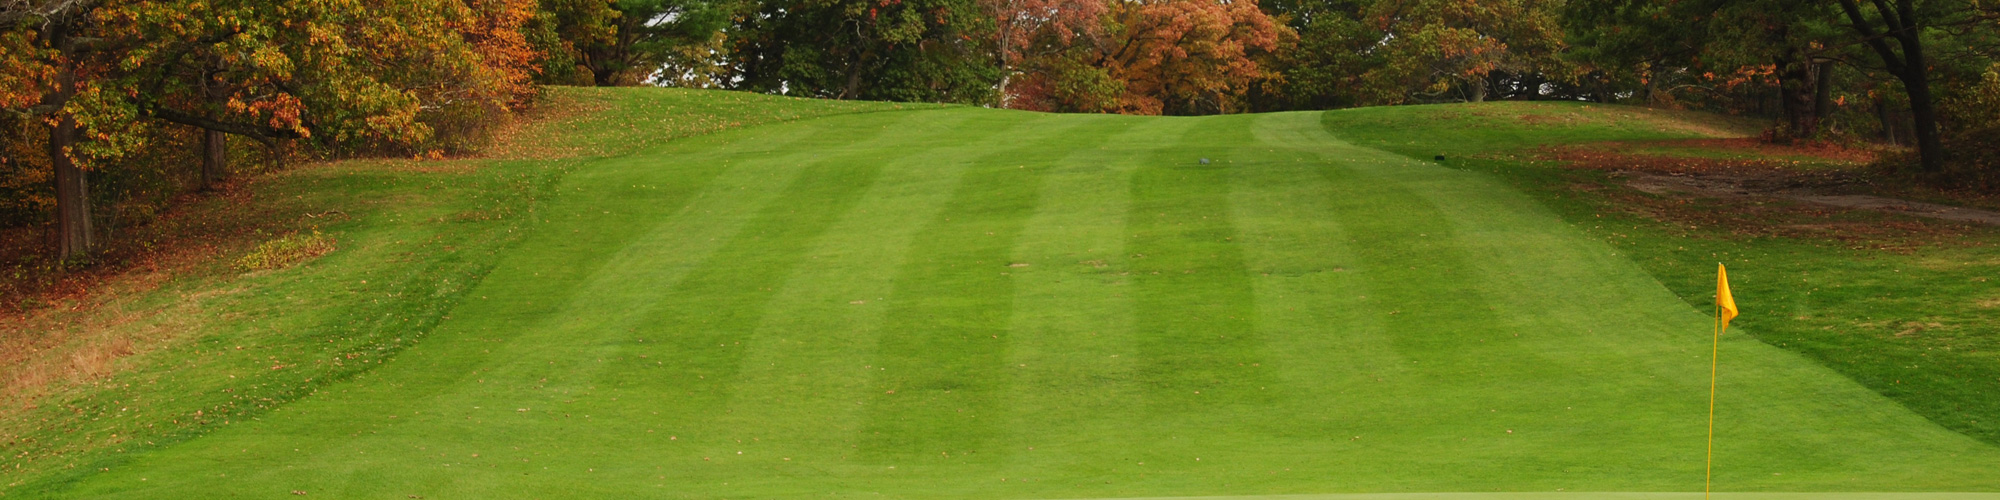
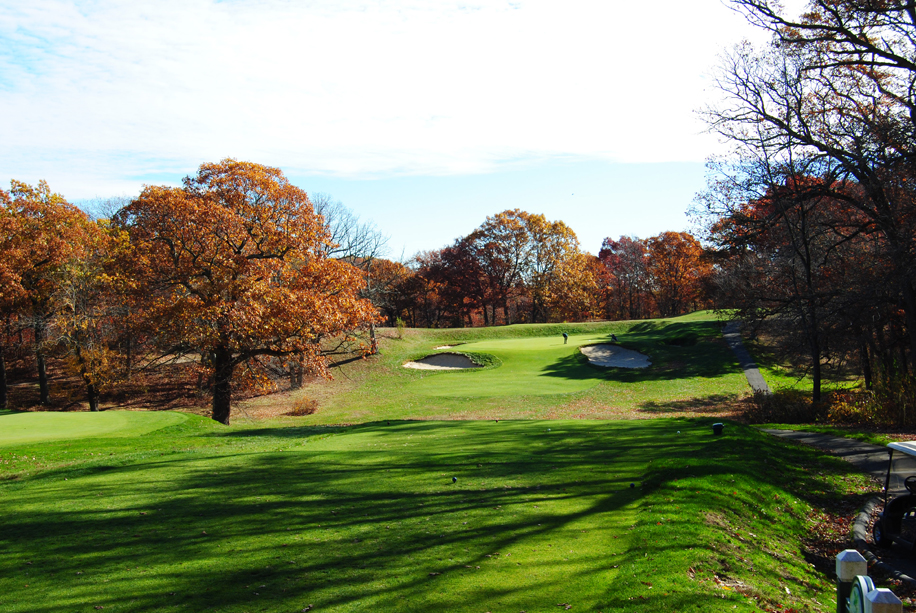
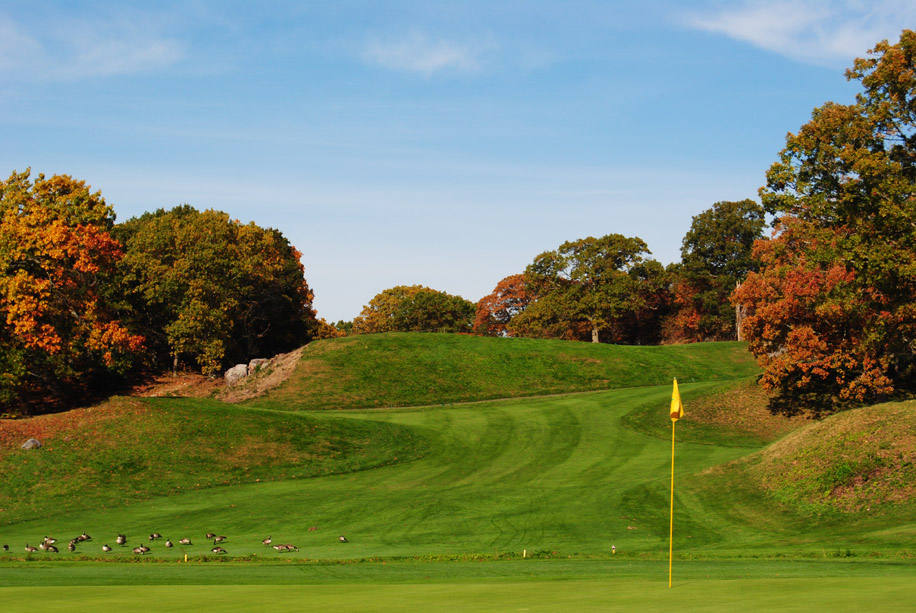
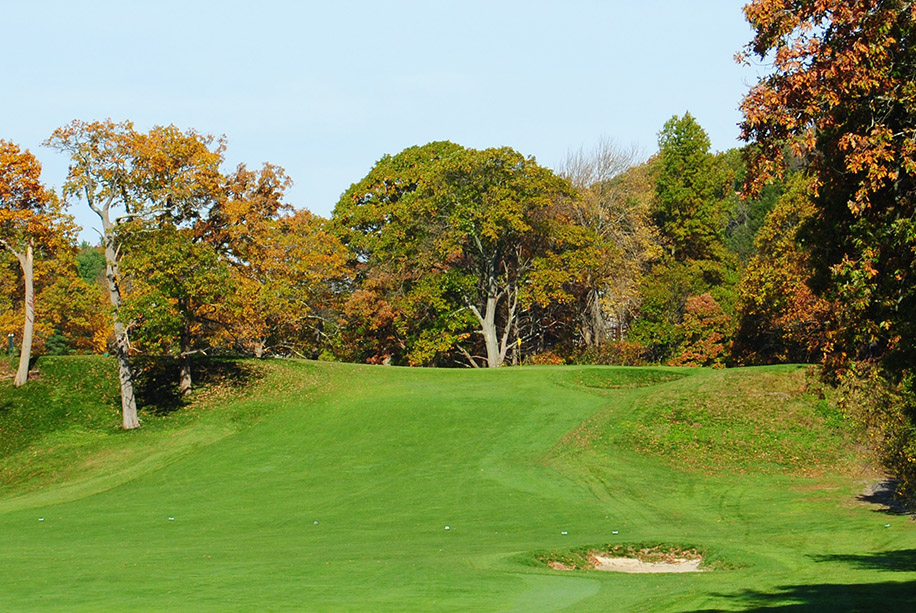
Hole #1
The first hole gives you plenty of room to start. Tee shot is tree lined on the left and out of bounds on the right. Approach just needs to stay off the mounds on the left side of green.
Par Blue White Red 4 377 367 285 -
Hole #2
Tee shot that is hit 220yds will leave you with a level lie. Approach shot is up hill and needs to played to the center of the green to avoid bunker on the left side.
Par Blue White Red 4 321 313 303 -
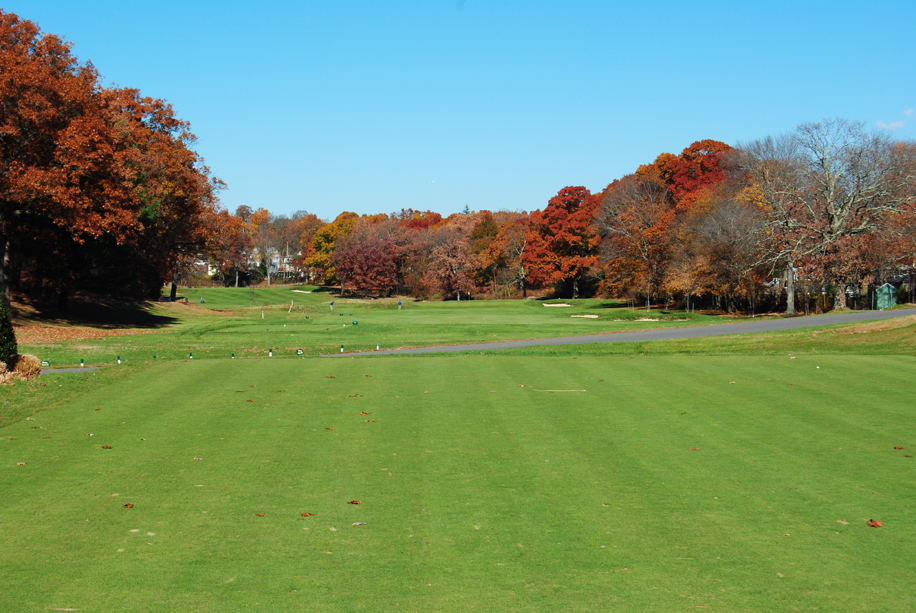
Hole #3
Reachable in two for the long hitters. Best played as a three shot hole with a fairly tight landing area on the tee shot. An ideal second shot should leave you with a third shot of 50 to 100yds in. Play to the middle of the green to avoid the deep front bunkers.
Par Blue White Red 5 515 480 348 -
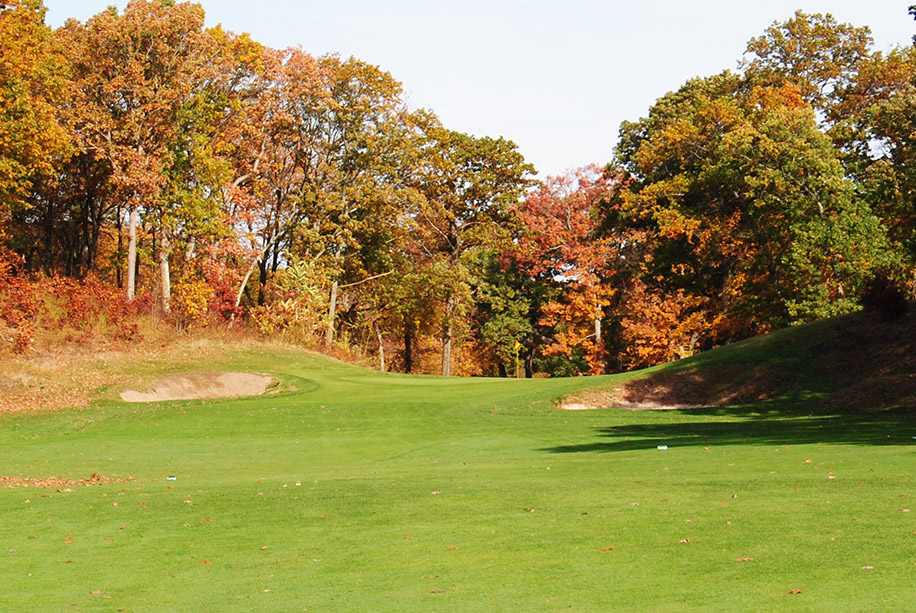
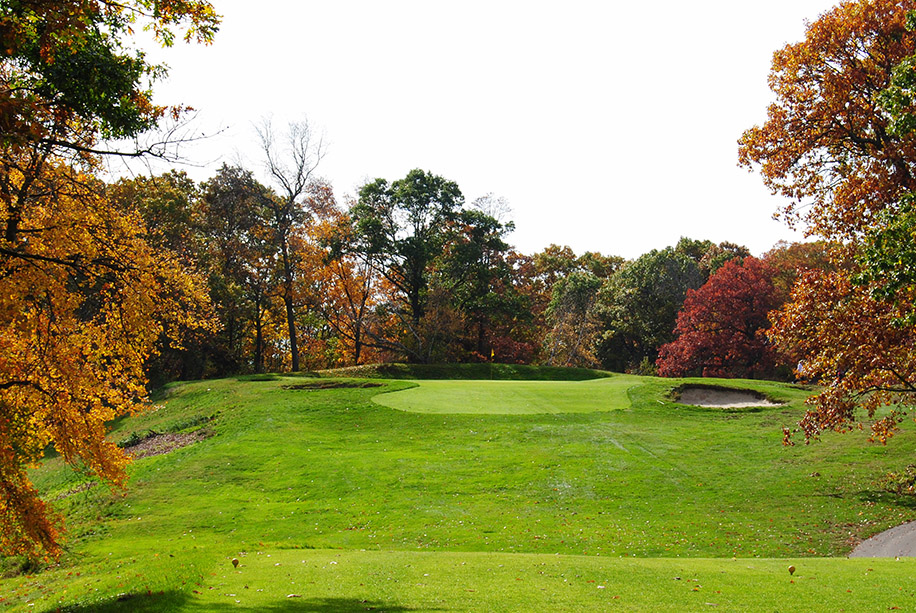
Hole #4
Deep bunkers surround the front of the green, and a large Fescue covered hill surrounds the back side of the green. Forget the flag stick, aim to the middle of the green.
Par Blue White Red 3 165 150 135 -
Hole #5
A difficult dog leg right hole with a semi blind down hill approach shot. Aim your tee shot to the top of the hill in the middle of the fairway 200yds away. Approach shot plays down hill. Avoid the trees on the left side of hole through the green.
Par Blue White Red 4 412 400 346 -
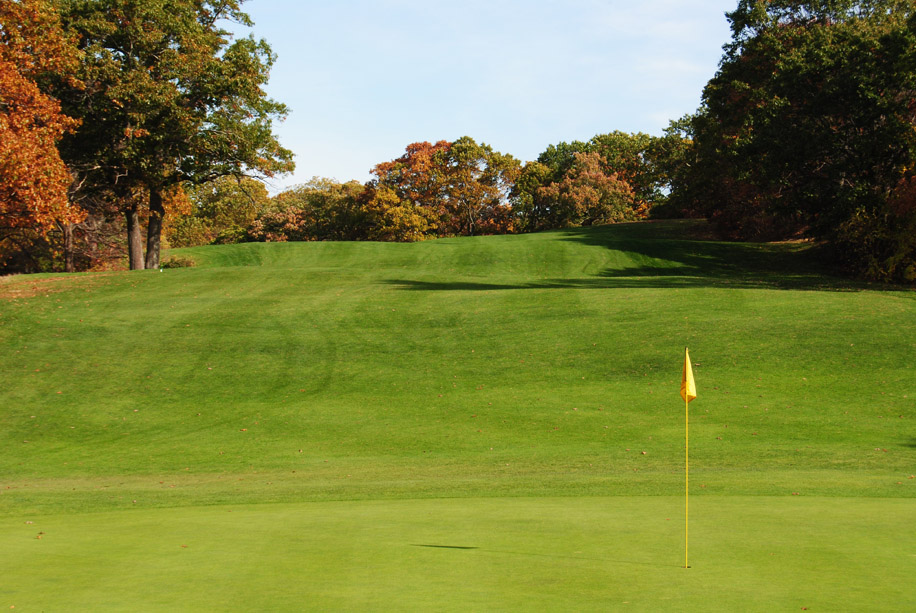
Hole #6
Keep your tee shot in the middle on this tight tree lined hole. Stray from the fairway and you will likely have to play through the trees to get to the green. Approach shot needs to avoid front bunkers that are a generous distance from the front of the green.
Par Blue White Red 4 395 360 304 -
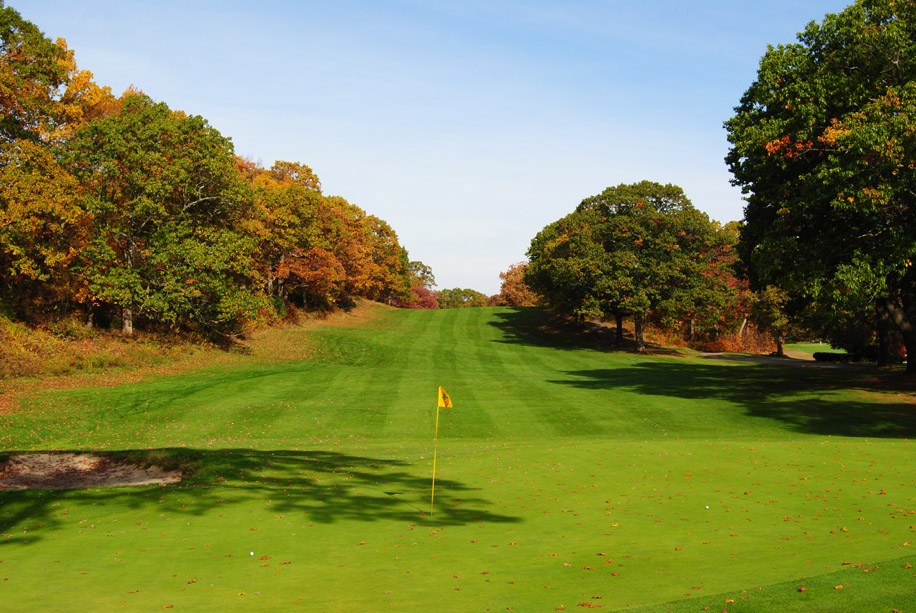
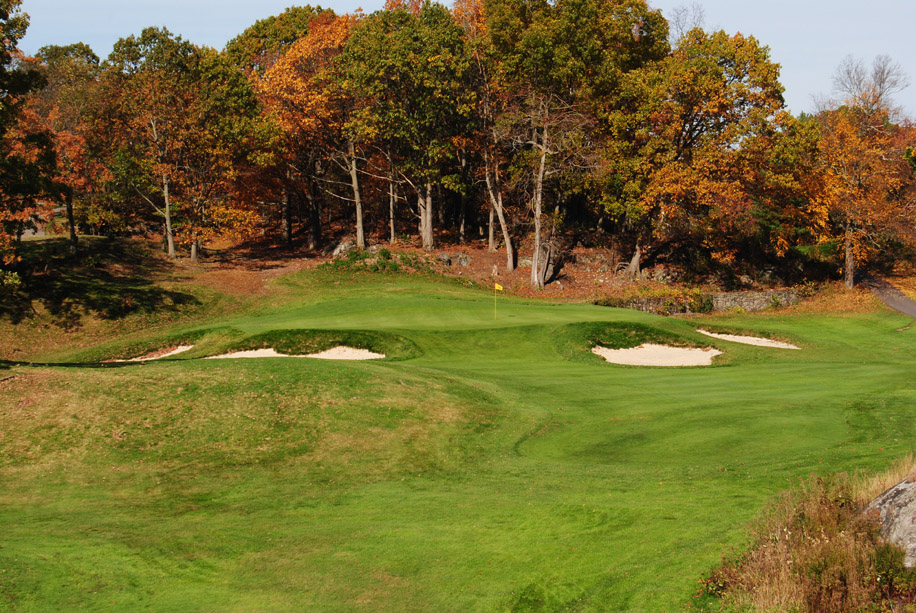
Hole #7
Play your tee shot to the top of the hill and you will have a manageable approach shot that plays down hill. The right side of the hole falls off and will leave with blind shot to the green. Keep your approach shot under the hole to avoid sharp breaking putts.
Par Blue White Red 4 400 360 353 -
Hole #8
The first hole gives you plenty of room to start. Tee shot is tree lined on the left and out of bounds on the right. Approach just needs to stay off the mounds on the left side of green.
Par Blue White Red 3 185 165 155 -
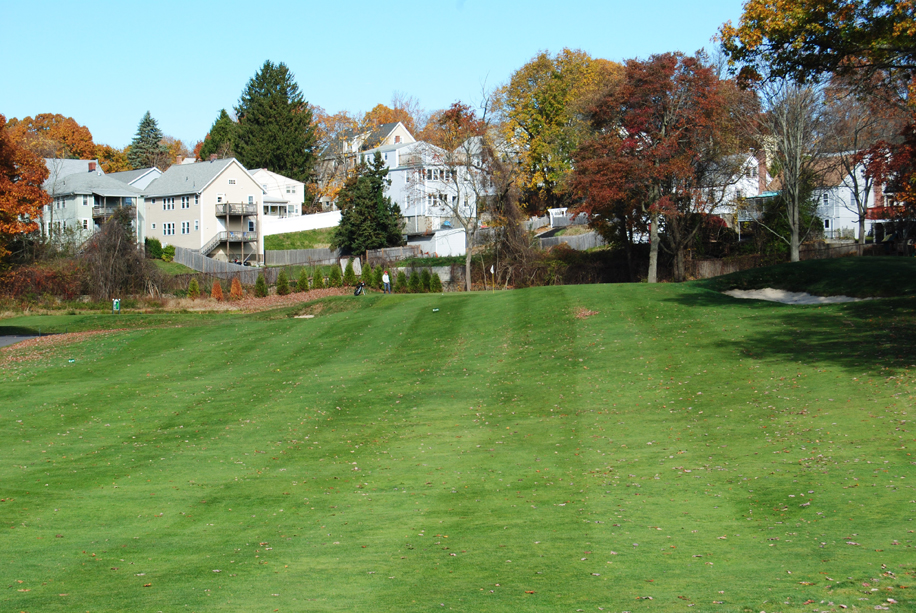
Hole #9
The first of two great back to back holes. Tee shot must stay in the middle of the fairway to give yourself a chance to reach the green in regulation. Approach shot is generally played from an uneven lie that is usually 200yds or more.
Par Blue White Red 4 453 440 315 -
Hole #10
No options here. Your tee shot must be at least 220yds down the middle to right side of the fairway, in order to have an approach shot that will have an opportunity to find the green. Approach shot plays down hill with a fairway that falls off on both sides. Leave yourself an up hill putt on this large undulating green.
Par Blue White Red 4 462 435 336 -
Hole #11
Favor the left side of the fairway on your tee shot. The large rock formation is a good target to aim at. Miss your tee shot to the right and you bring double bogey into play. Your approach plays slightly down hill and is best played by keeping the ball under the hole.
Par Blue White Red 4 362 347 273 -
Hole #12
A slight down hill dog leg to the right makes this tee shot very difficult to get into play. The safest play is a tee shot that lands approximately 220yds off the tee. Stray off the fairway and finishing the hole becomes your goal. Approach shot is played from a down hill uneven lie.
Par Blue White Red 4 412 399 368 -
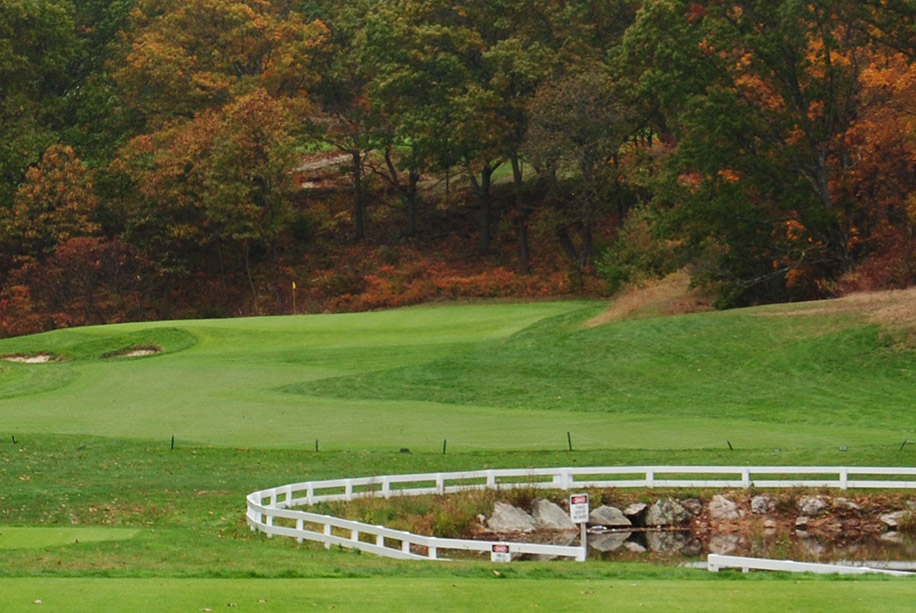
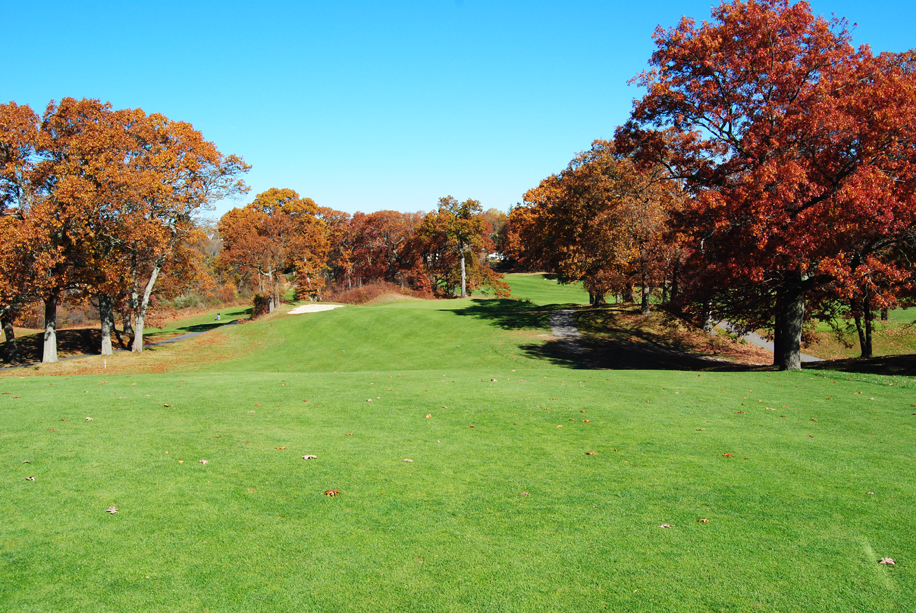
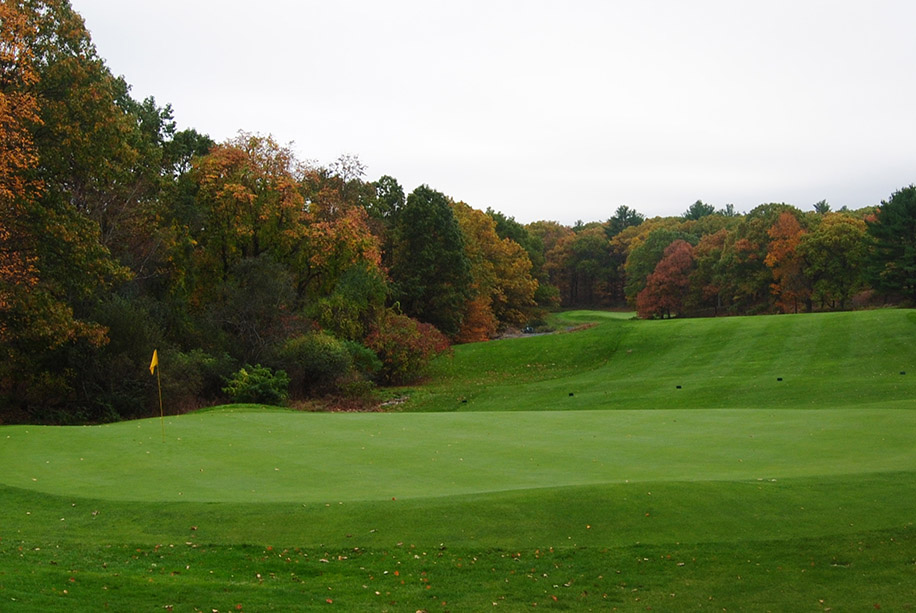
Hole #13
A beautiful hole from tee to green. More trouble than meets the eye. Keep your tee shot down the right side of this fairway to avoid the two ponds that guard the left side of the fairway. Play your approach to the middle of the green to keep your ball from rolling off the false front.
Par Blue White Red 4 390 369 335 -
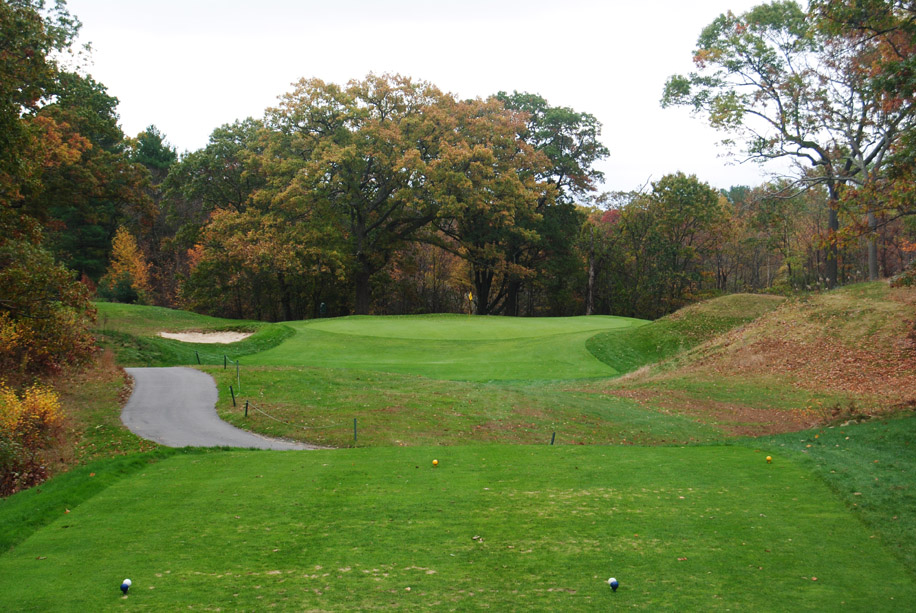
Hole #14
You must thread your tee shot through the tree lined fairway to a demanding green with a false front that will reject any shot that does not make to the middle two thirds of the green.
Par Blue White Red 3 191 182 135 -
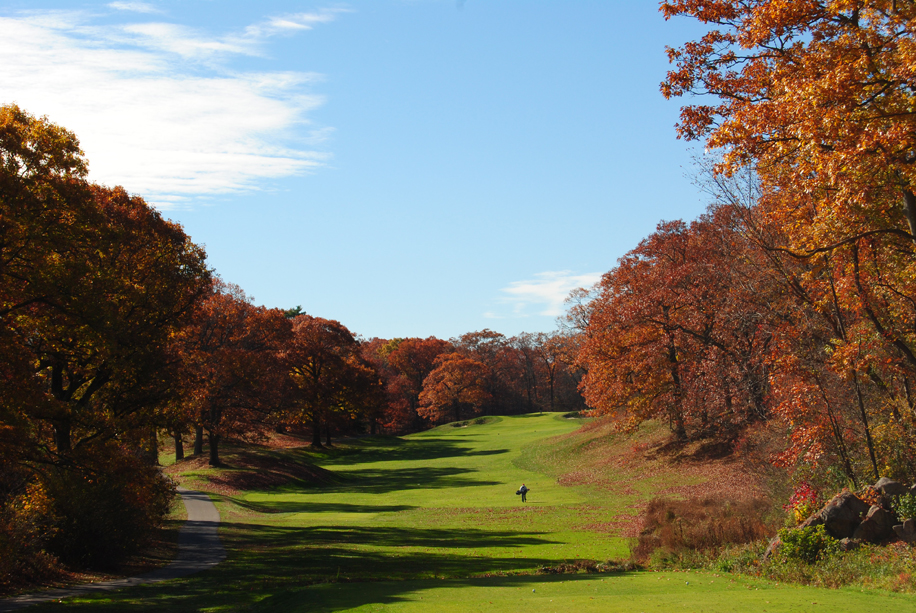
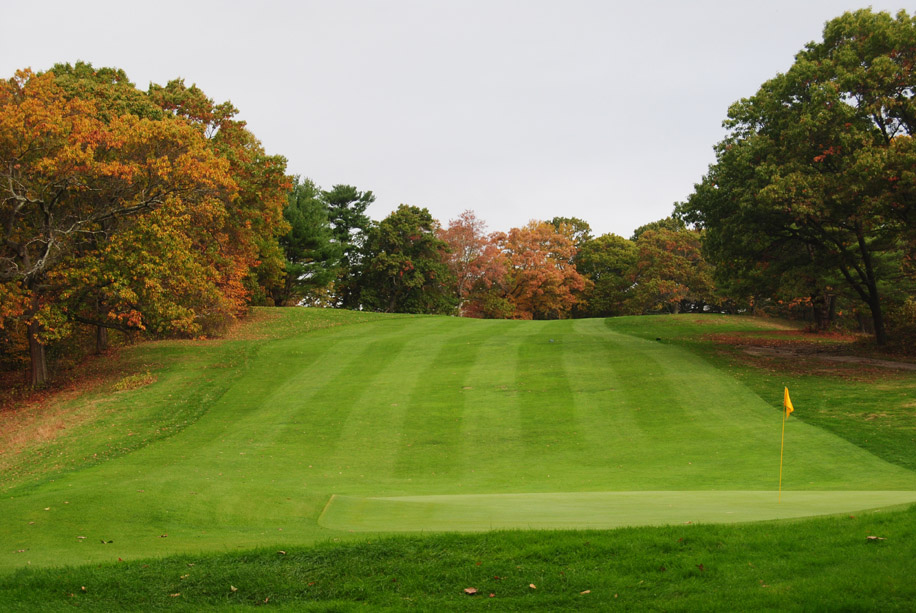
Hole #15
Play your tee shot to the top of the hill and you are left a nice and easy three shot hole. Hitting your tee shot over the hill makes it reachable in two. Get your tee shot caught on the hill and par will be a good score. Right side of hole is tree lined and out of bounds from tee to green.
Par Blue White Red 4 510 493 382 -
Hole #16
Keep your tee shots down the left-center to avoid the fairway bunker and the out of bounds on the right side of the hole
Par Blue White Red 4 340 318 299 -
Hole #17
The wind is usually what makes this hole so difficult to judge. Find your ball in the greenside bunkers and you will have to hit a high lofting shot. Don't forget to keep your ball under the hole.
Par Blue White Red 3 170 158 299 -
Hole #18
A tree lined, dog leg right hole that forces you to keep the ball down the middle in order to avoid the fairway bunkers on the right side of the fairway. Water running across the fairway comes into play if hit a poor tee shot. A deep bunker on right side of green makes playing your approach shot to the middle of the green a premium.
Par Blue White Red 4 380 360 310